Hardening your SSH Server configuration
The following are some of the steps you can take to harden the SSH Server against unauthorized access attempts.
- These steps should be pursued only after you have successfully configured the SSH Server, and tested that it serves the mode of use you desire.
- After applying each hardening step, test that your desired mode of use still works.
If a hardening step has broken your configuration, you can:
- Restore previous settings from an automatic backup.
- Use Advanced settings to reset individual settings pages to defaults, without affecting the rest of the settings.
Disabling password authentication
If you have configured and successfully tested public key authentication, you can disable password authentication for individual accounts:
You can also disable password authentication in Windows or virtual group settings entries, as a default for multiple accounts:
Note that users will not know that password authentication is disabled. If an SSH client is not able to connect otherwise, it will still display a password prompt. However, the SSH Server will refuse all password-based login attempts for an account, if password authentication for that account is disabled.
Password complexity
You can configure password complexity requirements for Windows accounts using Windows security policy settings:
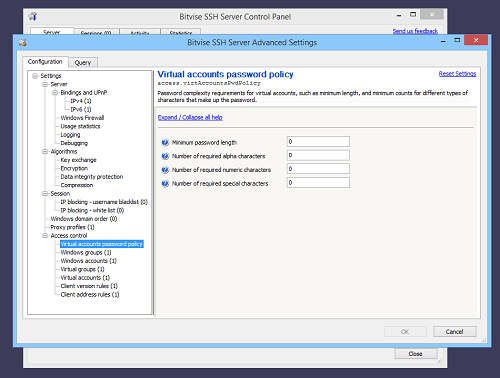
For virtual accounts configured in the SSH Server, you can configure password complexity requirements in Advanced SSH Server settings:
Automated IP blocking
You can strengthen default IP blocking settings to block for longer, and after a smaller number of attempts:
Use the IP blocking white-list to prevent automatic blocking of known legitimate clients.
Username blacklist
You can configure a blacklist of usernames often used in password guessing, so the SSH Server will automatically block IP addresses that try them:
Client address rules
You can configure IP-based client address rules to prevent login attempts outside of known authorized internet address ranges:


